
On to Part II of upholstering your chair seat. I forgot to mention two things yesterday.
1) You will need a staple gun to attach the fabric to the chair frame. I'm assuming since you are reading this blog (and hence probably found it from some kind of DIY/craft blog) that you have one of those things? If you don't, there are one million and two reasons why you should go buy one.
2.) Technically, you should cut your welting fabric on the bias (meaning you should cut the fabric on the diagonal, instead of straight strips.) This allows the fabric to bend and twist around corners and curves perfectly. However, since it would require at least one additional yard to make enough welting for one chair, I just wing it and pin and sew really, really carefully. And P.P.S-- there was some debate (internal, with me, myself and I) over whether I was using the right or wrong side of the fabric. The part of me that decided that this fabric was reversible won. If you disagree, please don't tell me because you will hurt my delicate feelings. There. Now, moving on.

Step One: Attaching the welting to the seat top.
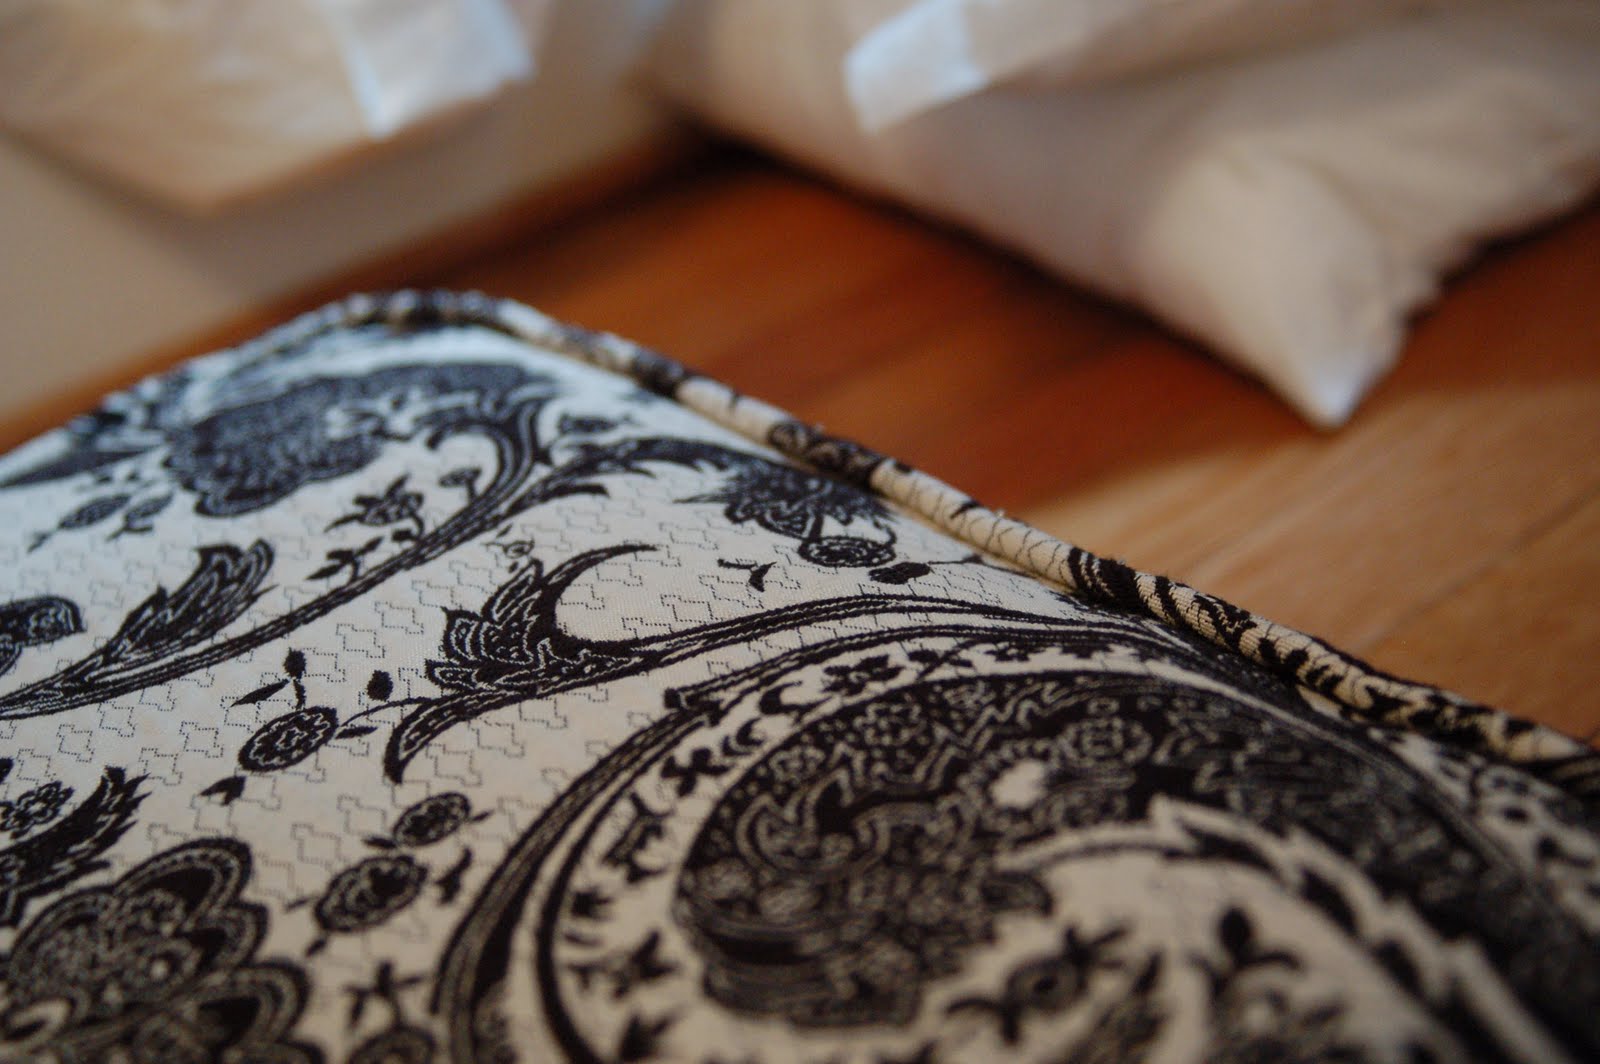
Cut your fabric into the approximate size of your seat top. For my 24"x26" seat, I cut a piece of fabric that was 27"x30". Center this on top of your foam and stick a few straight pins in to hold it still so it won't wiggle while you work. Find an inconspicuous place to start your welting-- I like the back corner myself. Leave a little tail of welting that hangs below the edge of your foam, and then begin pinning the welting, raw edge in the same direction as the raw edge of your fabric, just at the edge of the foam (don't pin through the foam, just through the fabric layers.) Remember, when you sew this in place, it will roll slightly downward, so it is better to have the corded part of the welting a little high on the top of the cushion, rather than too low. Working your way around the cushion, pin the welting in place so that it follows exactly the outline of the foam. When you reach the end, overlap the welting with your start place, then leave another little tail hanging down. The above picture shows the overlap of the ends of the welting. The picture below shows the welting pinned in place to the fabric, ready to stitch.
Step Two: Stitching the welting
Take out the pins you used to stabilize the fabric on top of the foam. Starting at the point where your welting overlaps, stitch carefully around the entire cushion. When sewing on any kind of trim, make sure you sew just very slightly above the line of stitching that holds the welting together (sew closer to the cording.) This creates a stitching guide for when you are sewing on your front and side panels. Once you have gone all the way around, trim off the excess fabric, using the bottom of the welting as your cutting guide, so that you are left with a cushion-top in the exact shape of your foam.

Step Three: Attaching the front/side panels
If your chair is like mine, you will have to cut two (or more) strips of fabric to form the front and sides of the cushion cover. Look at the existing cover on your chair and note the seams for these panels. Many square chair seats use a separate piece for each side of the cushion. Mine here is rounded, so I just made sure that my seaming would be hidden at the back of the chair.
Go ahead and stitch these strips together, right sides together, and trim the seam closely.
Find the center of one of these pieces of fabric, and match this to the front center of your cushion. The raw edges of the fabric should be facing the same direction, and it should be right sides together, meaning that your front/side pieces will be flipped up over the top of your top piece. Go around the perimeter of the cushion, pinning every few inches, to hold these fabric layers together. You want to make sure before you begin sewing that the seam where you will join the two edges of your side panels are in an inconspicuous place-- I like to try to match mine up with the place where the welting meets on the back of the chair. Beginning a few inches before the point where these will meet, sew around the perimeter of the cushion, using the stitching line you created in Step Two as your guide-- stitch just very slightly above that line, so that you are even closer to the cording than in Step Two. This will ensure that no stitches show from the right side of your cushion. Stop about two inches before the joining point, leaving the two ends of the side panel strip unattached.

Here is my cushion cover, after I pinned and sewed it, flipped inside out. You can see how the edges of the top and sides are joined.
NOTE: If you chose a fabric with a pattern that absolutely had to be matched, this is the step where you would do that. Make very, very sure that you match up the lines of the pattern exactly on the top/front when you begin pinning, and make sure you continue to match the pattern up exactly as you continue around the cushion. Swearing is optional, but don't blame me, I warned you about this yesterday...
NOTE: If you chose a fabric with a pattern that absolutely had to be matched, this is the step where you would do that. Make very, very sure that you match up the lines of the pattern exactly on the top/front when you begin pinning, and make sure you continue to match the pattern up exactly as you continue around the cushion. Swearing is optional, but don't blame me, I warned you about this yesterday...
Step 4: Joining the ends of the side panels

This part is a little tricky to visualize, but I hope the picture helps. When you sew the side/front panels on, you need to stop about 2 inches before the place that will be the end point of the cushion, leaving the ends free. Now, with the cover inside out and standing up as if it were on the foam, flatten out the fabric and mark where the fabric touches-- this will be your seam line. Sew a seam from top to bottom there, then trim it closely. Go back and sew this last bit of the side panel to the seat top.
Step Three: An alternate approach
Alternately, you can measure the panel all the way around the seat cushion, testing for fit around the curves, before you begin to sew. Make very careful note of the total length of the panel, then add 1 inch to that length and cut. Using a 1/2" seam, sew the ends together, forming a long loop of fabric. Center the longest piece of fabric so that the seam will not be visible from the front of the chair, then pin around the top and sew the pieces together. This is the "proper" way to do things, and what I usually do, but I've also found that it's sometimes pretty easy to goof up, leaving you with panels that are either too short of too long. The first method described works best for avoiding that problem.
Step Four: attaching the fabric to the frame

Flip your completed cover right side out, and place it on top of your seat frame topped with the foam and batting. You might have to ease it onto the foam, pulling gently as you go. Now, working from opposite sides, pull the fabric taunt, so the welting is just even with the edge of the foam, and staple it in place. Place one or two staples in each side, then go back and add in extra staples to hold the fabric securely all the way around.
Step Five: Adding the bottom welting

Take your extra welting, and beginning in the same spot on the chair where your top welting overlaps, repeat the process from Step One. However, this time, instead of pinning, you are going to staple the welting onto the chair frame. Place the staples very close to the stitching line so that the welting will be smooth and even along the chair edge. Overlap the ends as described in Step One and trim.

Pop the cushion back into the frame, and reattach the screws holding the seat bottom in place. You're all finished! See, that wasn't so hard, was it?
3 comments:
Are you kidding me?!!!! Can we just say "serendipidity"? I am looking at my torn up foot stool, wondering how to recover it and here you are telling me?! That's just wierd, girl. So.... in answer to your chair question.... a hand me down from my brother-in-law that I PAID to have reupholstered. I decided I didn't have it in me. Deep down, I know I'm right. However, you my friend, are amazing. That's my story, and I'm sticking to it.
There's a reason the universe found us, Heather! Just to meet your upholstery needs...
don't you want to cover about 12 cushions from a vintage camper with sweet vintage-ish fabric for me? I'll provide the cushions & the fabric. this hanging over my head. welting has been eliminated.
Post a Comment